이번에는 본문에 댓글 영역을 추가하겠습니다.
댓글 리스트와 쓰기 영역을 따로 만들겠습니다.
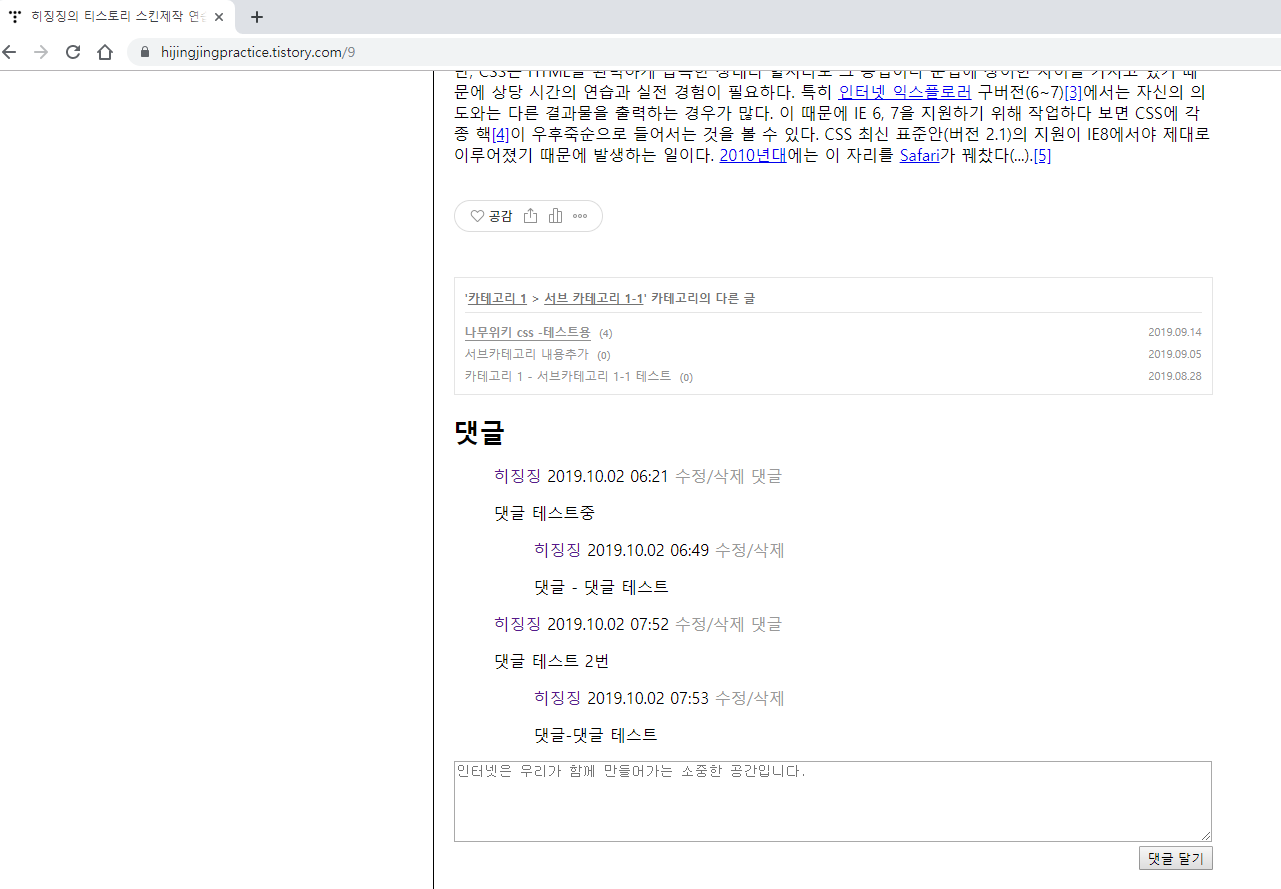
이번 내용은 댓글 리스트입니다.
연습용으로 개설된 티스토리 블로그 (https://hijingjingpractice.tistory.com/)
HTML
|
1
2
3
4
5
6
7
8
9
10
11
12
13
14
15
16
17
18
19
20
21
22
23
24
25
26
27
28
29
30
31
32
33
34
35
36
37
38
39
|
<!--
<s_rp>
<div id="comment">
<h3>댓글</h3>
<div class="commentList">
<s_rp_container>
<ol>
<s_rp_rep>
<div class="[ ##_rp_rep_class_## ]">
<span class="name">[ ##_rp_rep_name_## ]</span>
<span class="date"> [ ##_rp_rep_date_## ]</span>
<span class="control">
<a href="#" onclick="[ ##_rp_rep_onclick_delete_## ]">수정/삭제</a>
<a href="#" onclick="[ ##_rp_rep_onclick_reply_## ]">댓글</a>
</span>
<p>[ ##_rp_rep_desc_## ]</p>
</div>
<s_rp2_container>
<ul>
<s_rp2_rep>
<div class="[ ##_rp_rep_class_## ]">
<span class="name">[ ##_rp_rep_name_## ]</span>
<span class="date"> [ ##_rp_rep_date_## ]</span>
<span class="control">
<a href="#" onclick="[ ##_rp_rep_onclick_delete_## ]">수정/삭제</a>
</span>
<p>[ ##_rp_rep_desc_## ]</p>
</div>
</s_rp2_rep>
</ul>
</s_rp2_container>
</s_rp_rep>
</ol>
</s_rp_container>
</div>
</s_rp>
-->
|
HTML
3열 - 댓글 치환자
4열 - 댓글 치환자 div 태그
5열 - 댓글 이름
6열 - 댓글 리스트 div 태그
7열 - 댓글 리스트 출력 영역
9열 - 댓글 리스트 반복열
10열 - 댓글 반복열 영역
11열 - 작성자
12열 - 작성 날짜
13열 - 작성자 관리 영역
14열 - 수정, 삭제 치환자
15열 - '댓글' 댓글 달기
17열 - 댓글 내용
19열 - '댓글' 댓글 리스트 출력 영역
21열 - '댓글' 댓글 리스트 반복열
22열 - '댓글' 댓글 반복열 영역
23열 - 작성자
24열 - 작성 날짜
25열 - 작성자 관리 영역
26열 - 수정, 삭제 치환자
28열 - '댓글' 댓글 내용
본문 바로 아래쪽에 위치시키면 됩니다.
기본적인 형태는 티스토리 가이드에서 제공해주는 내용입니다.
각 치환자는 [ # ] 형식으로 띄어쓰기를 했고 실제 사용 시에는 붙여주셔야 됩니다.
CSS
|
1
2
3
4
5
6
7
8
9
10
11
12
13
14
15
16
17
18
19
20
21
22
23
24
25
|
/*
#comment h3 {
margin-top: 20px;
margin-bottom: 0;
}
#comment .commentList {
margin: 0;
padding: 0;
}
#comment .commentList a {
text-decoration: none;
}
#comment .commentList .control a {
color:#999999;
}
#comment .commentList .control a:hover {
color: #01e5fb
}
*/
|
3열 - 댓글 이름 마진 수정
8열 - 댓글 리스트 마진, 패딩 수정
13열 - 각 링크 밑줄 삭제
17열 - 관리 영역 기본 색상 변경
21열 - 관리 영역 마우스 오버 시 색상 변경
간단한 마진 패딩 조정만 했습니다.
다음에는 댓글쓰기 영역을 만들겠습니다.
반응형
'(구) 티스토리 스킨' 카테고리의 다른 글
| 8. 티스토리 스킨만들기 (Html 초보) - 메인페이지 (3) (0) | 2019.09.20 |
|---|---|
| 7. 티스토리 스킨만들기 (Html 초보) - 메인페이지 (2) (3) | 2019.09.14 |
| 6. 티스토리 스킨만들기 (Html 초보) - 오류 (0) | 2019.09.10 |
| 5. 티스토리 스킨만들기 (Html 초보) - 메인페이지 (1) (0) | 2019.09.05 |
| 4. 티스토리 스킨만들기 (Html 초보) - Category (0) | 2019.09.02 |
| 3. 티스토리 스킨만들기 (Html 초보) - Layout (0) | 2019.08.30 |
| 2. 티스토리 스킨만들기 (Html 초보) - Html 구조 (0) | 2019.08.28 |
| 1. 티스토리 스킨만들기 (Html 초보) - 기본준비 (Atom) (0) | 2019.08.28 |